Now taking custom project enquiriesTell us about your oddball →
Complete setup planner · Bearded dragons · Australia

A bearded dragon setup where every part has a job.

This page connects the care requirements to the physical enclosure plan. It is not a veterinary prescription and it does not replace species-specific advice; it shows where custom Oddball pieces add value and where specialist electrical equipment is better sourced from established manufacturers.

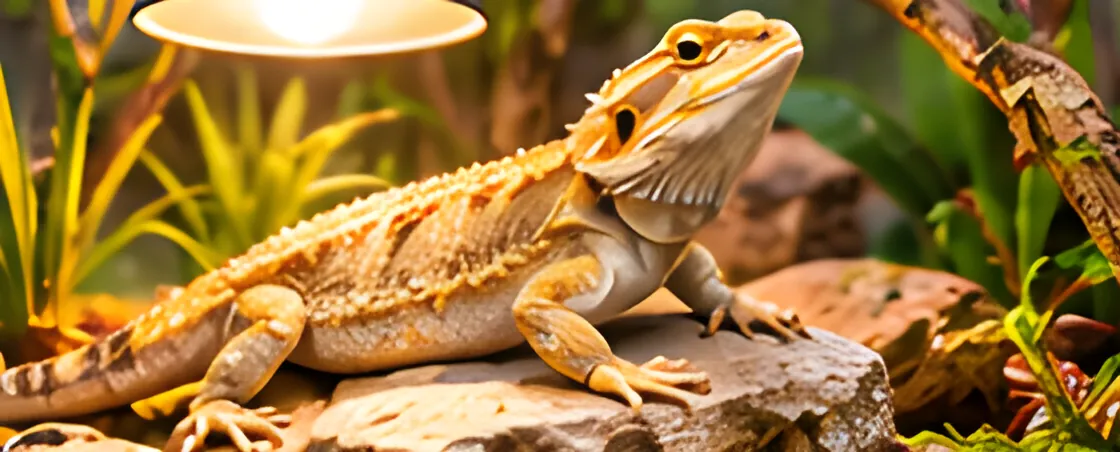
Illustration: A bearded dragon setup where every part has a job.
Use the guide first

Understand the job before opening a product page.

These articles are written as setup notes and DIY guidance first. Where a third-party product is useful, sit in an optional expandable section rather than taking over the article.

Oddball field notes

Think in zones, not decorations.

A bearded dragon enclosure works best when each part of the space has a purpose. Instead of adding a pile of ornaments, think about where the animal can warm up, cool down, shelter, move, climb, observe the room and get away from light when it wants to. The backdrop and ledges should support those choices rather than simply making the enclosure look rocky.

01

Build the basking area as a usable destination

A basking ledge needs enough area for the animal to position its body comfortably rather than balancing on one narrow edge. Its height also affects the distance to heat and UVB fixtures, so the ledge should be planned with the lighting layout rather than added afterward. Broad, stable surfaces are usually more useful than a collection of tiny shelves.

02

Leave an obvious cooler retreat

A warm end only works if there is a genuinely cooler choice elsewhere. Avoid filling every wall with thick foam or placing every hide directly beneath the heat source. A secure cooler-side hide and some shaded space give the animal somewhere to move when it does not want the basking zone.

03

Use the wall without stealing the floor

One advantage of a custom backdrop is that it can create gentle ramps, ledges and visual structure from otherwise unused wall space. The trick is keeping the floor practical for feeding, cleaning, bowls and normal movement. Think of the backdrop as part of the route through the enclosure, not as a sculpture sitting inside it.

04

Design for cleaning from day one

Food, substrate and waste eventually find every inconvenient corner. Avoid deep sealed caves that cannot be inspected, bowl recesses that trap water and ledges that create unreachable pockets behind them. A removable bowl and accessible hide can still look integrated while being far easier to maintain.

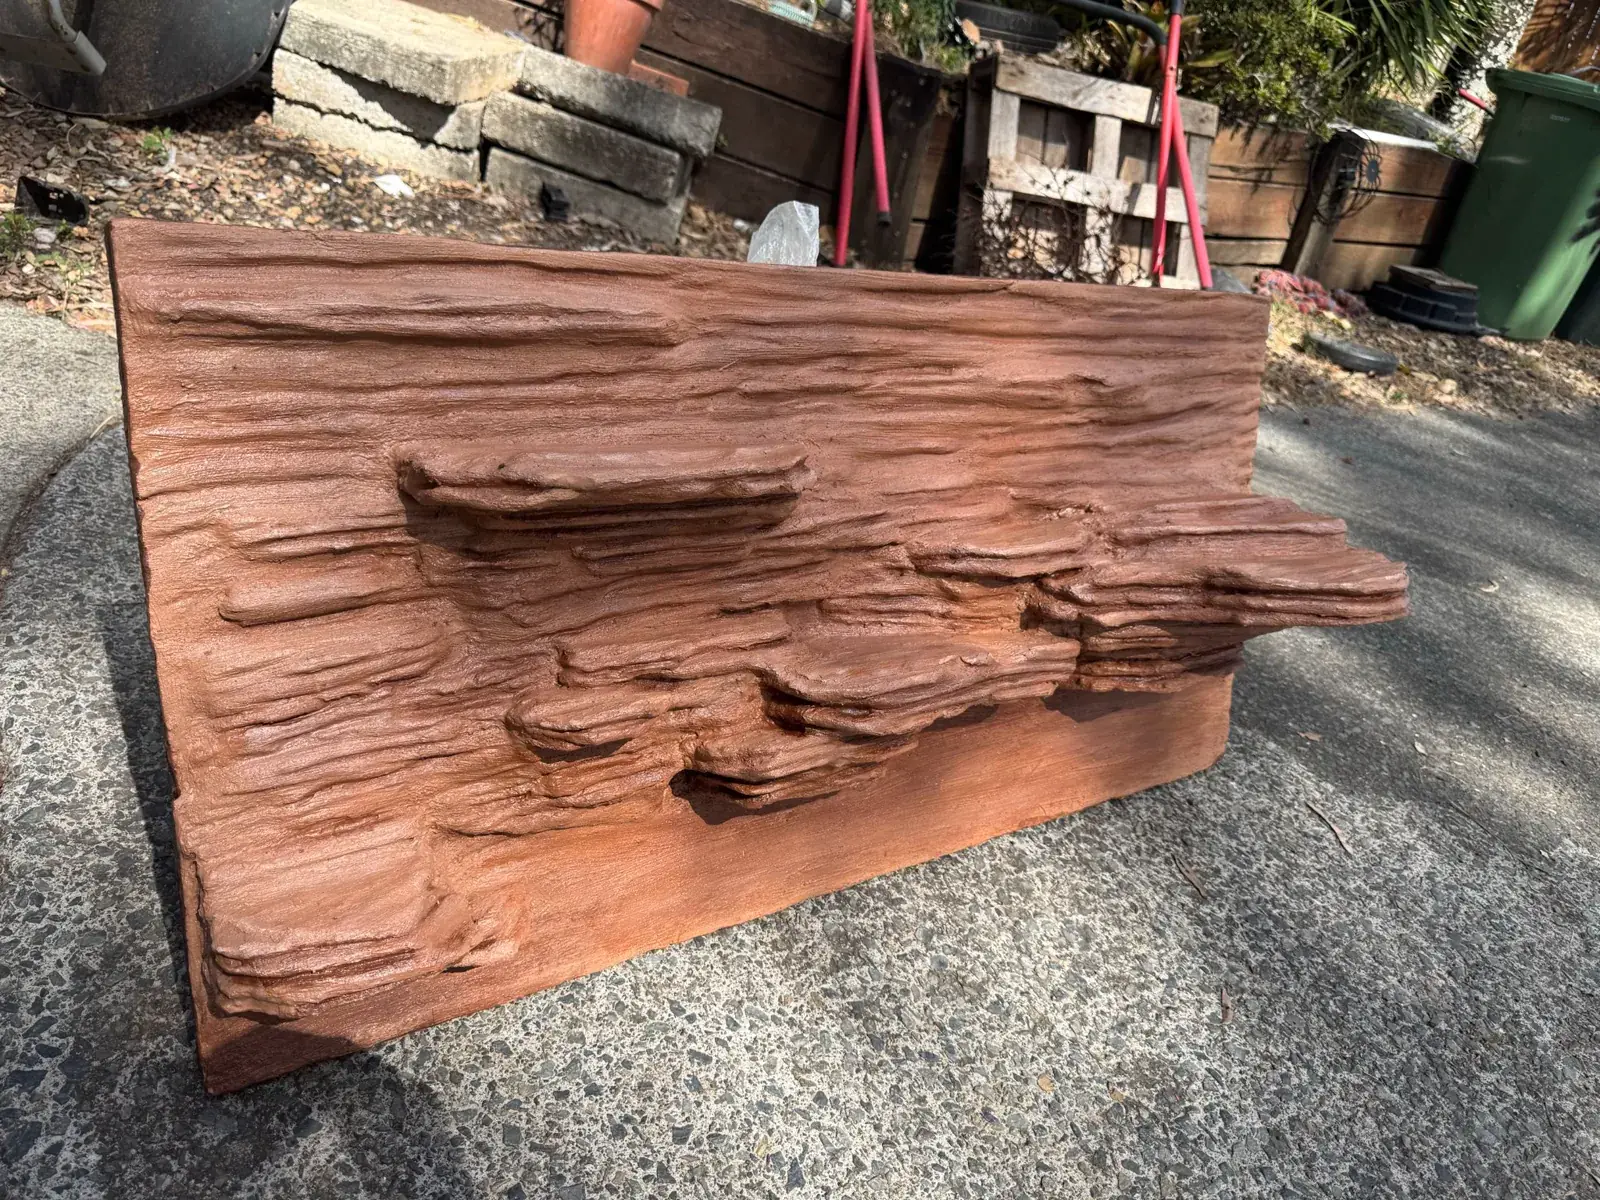
Finished four-foot rock backdrop made by Oddball Animal Works
Inspiration image · use the principles, then adapt them to the real enclosure.

Little things that make the setup easier

  • Mock up a basking ledge with cardboard before committing to its final height.
  • Keep fixture access clear enough that a lamp can be replaced without removing the backdrop.
  • Put thermometer probes where they represent meaningful zones, not where they are easiest to hide.
  • Take photos from the animal’s level; it often reveals blocked routes and awkward drops that are hard to notice from above.

Common mistakes worth avoiding

  • Creating lots of vertical features but no broad resting platform.
  • Designing the whole enclosure around one dramatic hot spot.
  • Building a hide so decorative that it cannot be checked or cleaned.
  • Putting the water bowl somewhere that must be reached across a hot lamp or fragile décor.

Questions people usually ask

Can a bearded dragon backdrop include a built-in basking ledge?

Yes, provided the ledge is planned around the actual enclosure, heat and UVB layout, remains stable, and can be kept clean.

Do I need a completely custom enclosure to use a custom backdrop?

No. Many projects start with an existing enclosure. Accurate internal measurements, photos and fixture locations are usually enough to begin planning.

FREE ADVICE IS THE POINTIf you are not sure what you need, ask before buying it.

Send a photo of the enclosure and explain what you are trying to improve. If the sensible answer is “you do not need another product”, we would rather tell you that than sell around the problem.

Specialist equipment

Gear we would rather help you choose than pretend to manufacture.

Use the detailed guides to understand the category, then compare suitable equipment.

Thermostat

Choose the controller to suit the actual heater. A visible basking lamp will usually call for a different control method from a non-light-emitting ceramic heater.

Example: Exo Terra 300W dimming & pulse proportional thermostat. Confirm it suits your exact setup.

UVB system

Use purpose-built reptile UVB equipment selected for the animal, enclosure and mounting distance; ordinary window glass is not a UVB solution.

Example: Zoo Med ReptiSun T5 HO 24-inch hood with 10.0 UVB lamp. Confirm it suits your exact setup.

Infrared temperature gun

Useful for checking basking and surface temperatures; it complements, rather than replaces, fixed air-temperature probes.

Example: Etekcity Lasergrip 774 infrared surface thermometer. Confirm it suits your exact setup.
Build order

A sensible sequence saves expensive rework.

1

Confirm enclosure and animal

Know the internal dimensions, openings, vents, fixture positions and exact species before designing permanent structure.

2

Plan heat + UV first

Mark the intended basking zone, light positions, safe clearances and the cooler retreat.

3

Design the habitat around that plan

Add ledges, hides and routes only where they improve the animal’s usable choices and remain serviceable.

4

Add monitoring

Put probes where they measure meaningful zones, not where they are easiest to hide.

5

Verify before the animal moves in

Run the finished enclosure, measure it over time, and make adjustments before treating the setup as complete.

Already have the enclosure?

Send us a straight-on photo, internal dimensions and the positions of your heat/UV fixtures. We can design the physical habitat around the equipment plan rather than covering it up afterward.

Start a bearded dragon project →
THE POINT OF THE GUIDE

Better equipment choices. Better custom habitat decisions.

If a generic part does the job well, we will say so. If the enclosure would genuinely benefit from something made to fit, that is where Oddball comes in.

Tell us about your enclosure →Keep reading
Apply it to your own enclosure

Still unsure? Send the setup, not a perfect brief.

A straight-on photo, rough dimensions and a sentence about what you are trying to improve are enough to start a useful conversation. If the answer is a simple adjustment instead of another product, that is useful too.

Aussie natives: real species, real knowledge, real habitats.

General information for Australian keepers, not veterinary advice. As an Amazon Associate, Oddball Animal Works earns from qualifying purchases. It never changes your price. About our links

MADE BY ODDBALLNeed the physical piece as well as the information?
Tell us about your oddball →